Jam Room
Describe what you want. Watch AI build it. See the result live.
What is Jam Room?
Jam Room is your workspace for building applications through conversation. Every Jam Room is a self-contained workspace combining an AI agent, a live preview environment, and a collaboration layer. Your conversation with the agent is the build process.
No code editor. No terminal. Just conversation.
The Build Cycle
- Describe — Tell the AI what you want to build in plain language
- AI Builds — Code is written live and the preview updates automatically
- Test — Interact with your running app in the preview panel
- Refine — Send corrections or new requirements, repeat the cycle
Why Jam Room
- Instant feedback — see changes in seconds, not hours
- Natural language — no syntax to learn
- Collaborative by default — teammates see everything in real-time
- Iterative by design — build incrementally, test continuously
Want a step-by-step walkthrough of creating and publishing your first app? See Build Your First App →
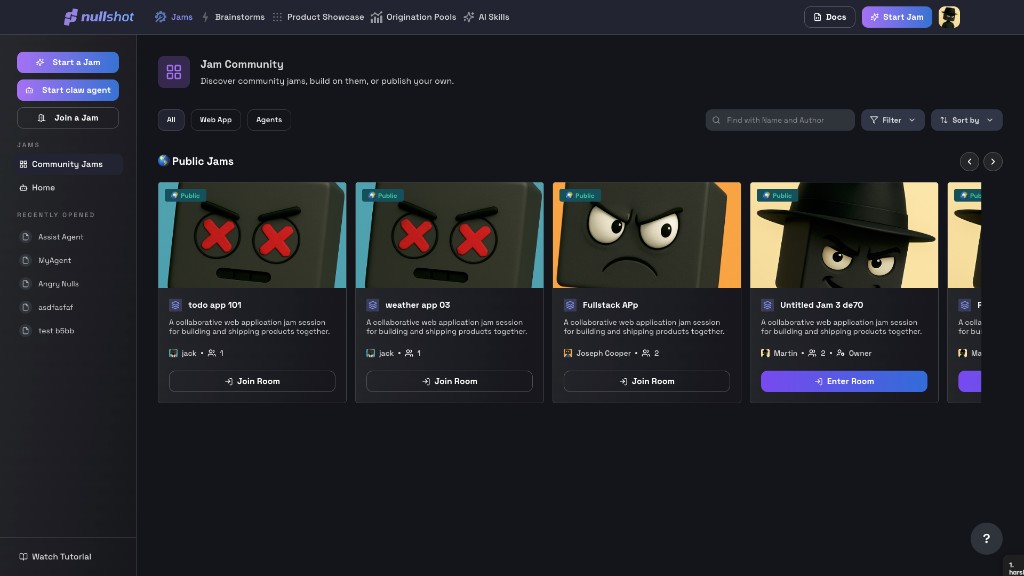
The Jams Page
Jam Community — the public directory of all published Jam Rooms. Browse apps built by other users, join their rooms, or use them as a starting point for your own project.
Room Navigation
The left sidebar of the Jam Room provides navigation between five areas: App, Members, Roadmap, Settings, and Channels.
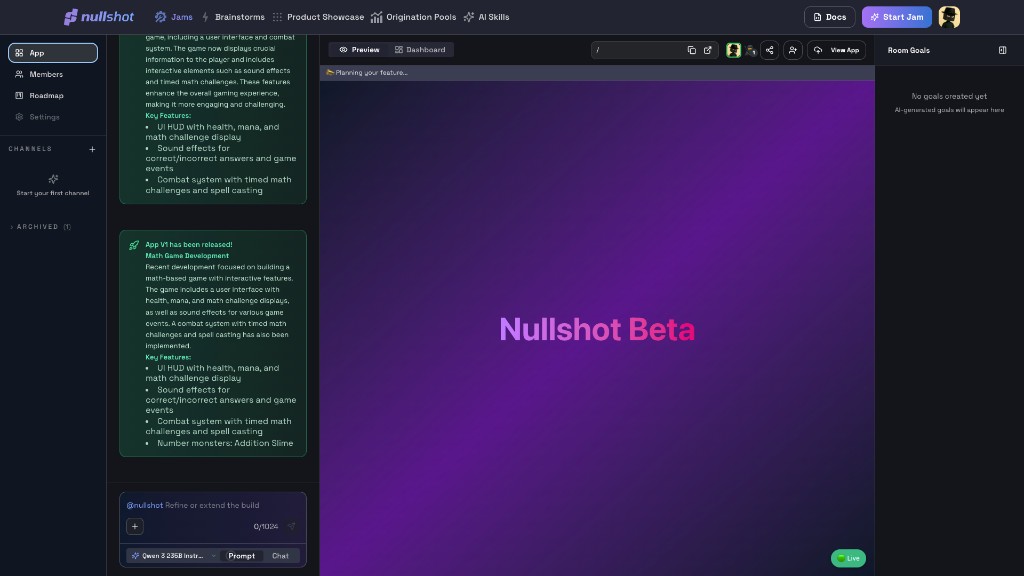
App Tab
The main build area — chat panel, preview, and agent activity. This is where you and the AI work together.
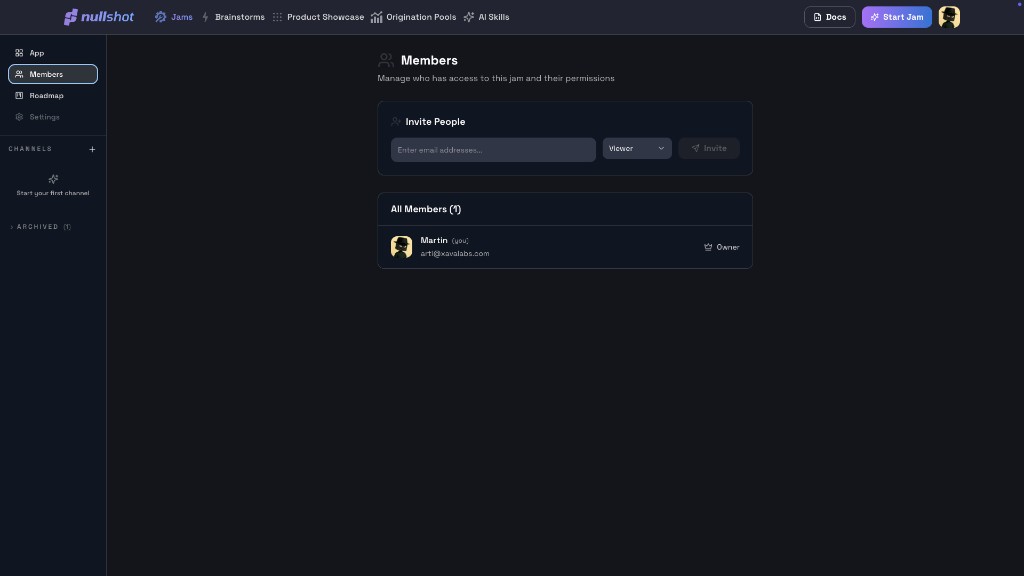
Members
The Members panel shows everyone with access to the jam. Invite new collaborators by entering their email address and selecting a permission level (Viewer, Editor, etc.).
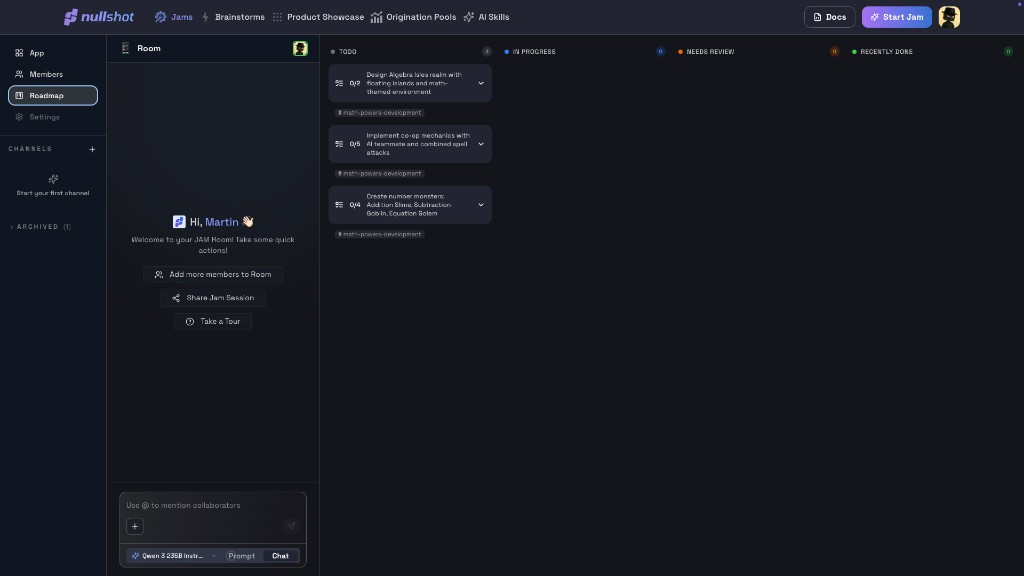
Roadmap
The Roadmap is a live task board that mirrors the Room Goals panel. Goals and their subtasks move across the four columns as the agent works:
- TODO — goals waiting to be started
- IN PROGRESS — the agent is currently working on these
- NEEDS REVIEW — completed but awaiting your confirmation
- RECENTLY DONE — accepted and closed goals
Settings
Room-level configuration options for your Jam Room.
Channels
Channels are separate conversation threads within a Jam Room. Each channel can have its own agent context, allowing parallel workstreams on different features of the same app.
- Click the + next to CHANNELS in the sidebar to create a new channel
- Each channel acts as an independent feature branch within the room
- Archived channels are collapsed under the ARCHIVED section
The Jam Room Interface
When you're in the App tab, the main area has three parts: the toolbar at the top, the center (Preview or Dashboard), and the right panel (Room Goals).
The Toolbar
The toolbar runs across the top of every Jam Room.
- Code Locally (
</>) — Opens CLI commands to sync the room to your local editor - Download Files (⬇) — Downloads current project files as a ZIP archive
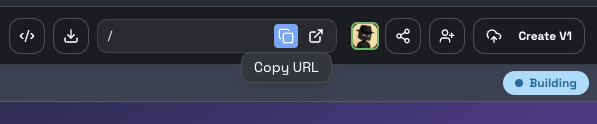
- Path Breadcrumb (
/) — Displays the current file path. Edit to navigate the file tree - Copy URL (⧉) — Copies the direct URL of the running app to clipboard
- Open in Tab (↗) — Opens the live app preview in a new browser tab
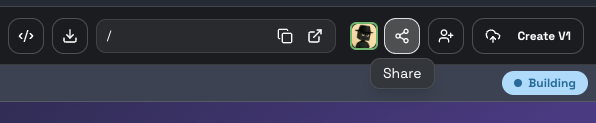
- Share (⊕) — Opens the Share dialog to copy the room link or share via social
- Invite (👤+) — Invite collaborators to join this Jam Room
- Create V1 (↻) — Publishes the current state as a new version and deploys it live
Preview Tab
The Preview tab is the default view. It shows your app running live as the agent builds. The center panel renders the deployed application in an iframe.
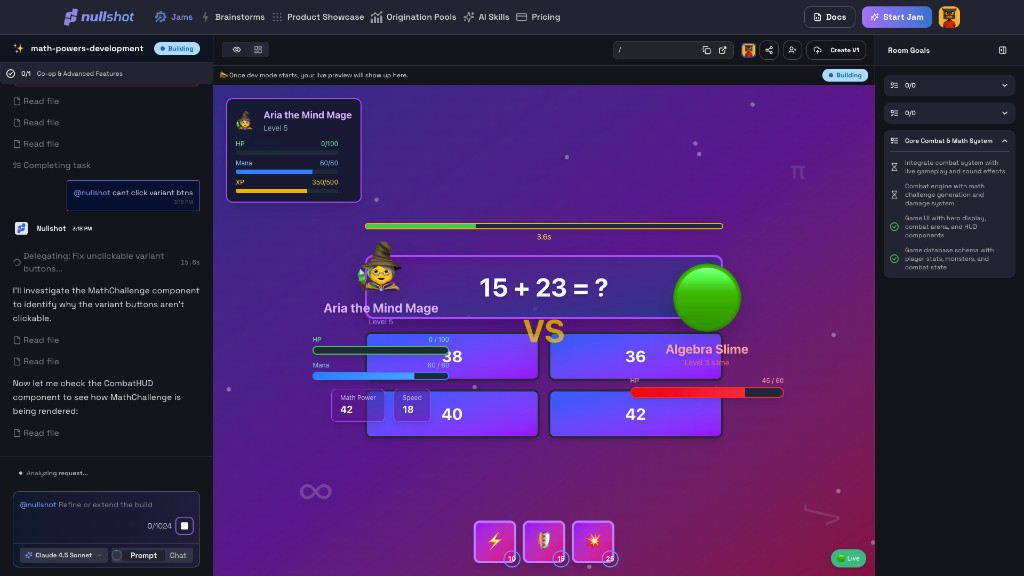
"Once dev mode starts, your live preview will show up here" — this banner appears while the dev environment is booting. Once the Building indicator turns Live (green), the preview is fully interactive.
Dashboard Tab
The Dashboard has four sections: Config, File Store, Databases, and Debug.
Click the grid icon next to Preview to open the Dashboard. It provides administrative controls with four sub-sections in the left sidebar.
- Config — Manage environment variables and secrets for the application
- File Store — View, upload, and create media assets for the current branch
- Databases — Configure database connections and schemas (Coming Soon)
- Debug — View system status, agent context, error logs, and generated code
Config — App Configuration
Manage environment variables and secrets. Values are injected into the running app at build time.
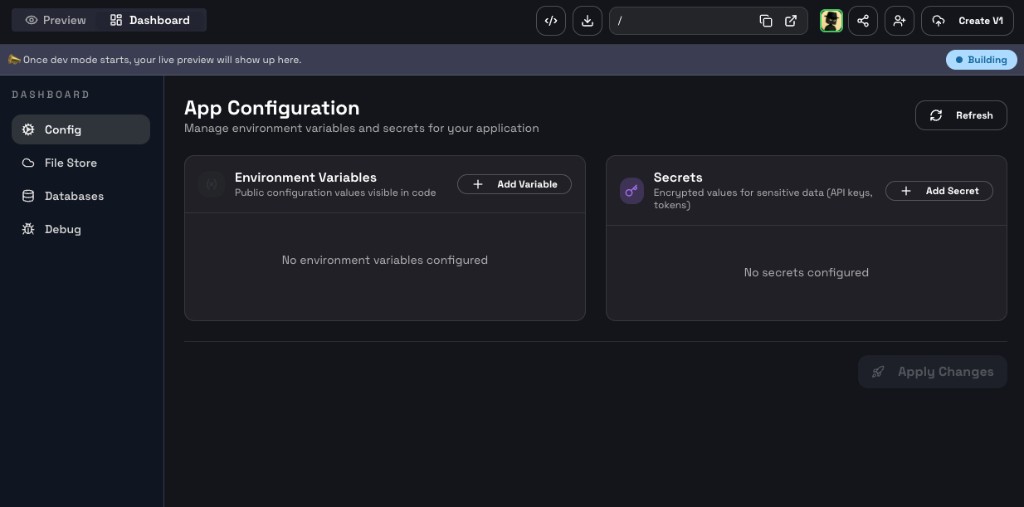
- Environment Variables — Public configuration values visible in code. Use for API endpoints, feature flags, app names.
- Secrets — Encrypted values for sensitive data (API keys, tokens). Never exposed in client-side code.
Click Apply Changes after adding or updating values to make them available in the running app.
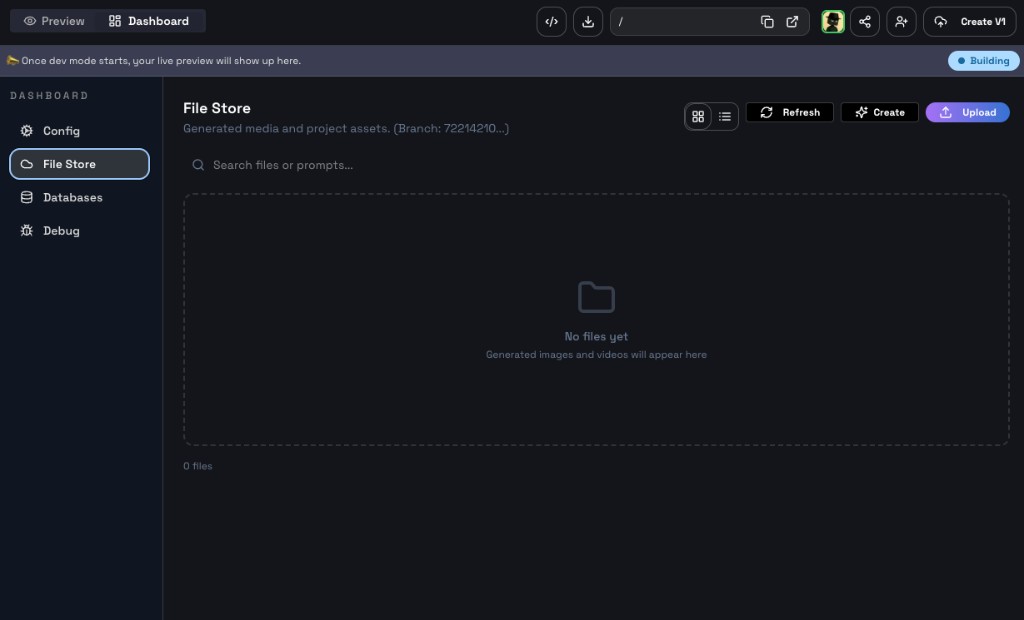
File Store
File Store holds generated media and project assets for the current branch. Images and videos created or uploaded during a build are stored here. Use Refresh to reload, Create to generate an asset with AI, or Upload to add files from your local machine.
Databases
The Databases section is reserved for configuring and managing database connections and schemas.

Debug Dashboard
The Debug section provides system diagnostics. It shows status for two core services:
- CodeBox — the sandboxed execution environment for your app code
- GitBox — the version control layer tracking your jam's file history
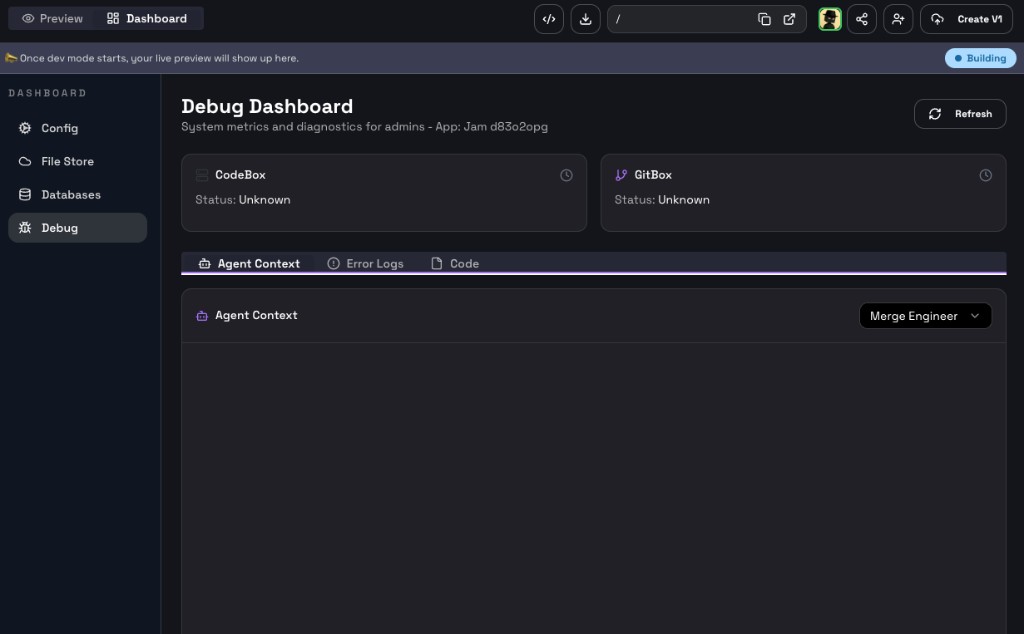
Three tabs are available within Debug:
- Agent Context — Shows the current context the agent is operating with, filterable by role (e.g., Merge Engineer)
- Error Logs — Displays runtime errors and agent-reported issues from the current session
- Code — Browses the generated code files in the current branch
Versioning and Publishing
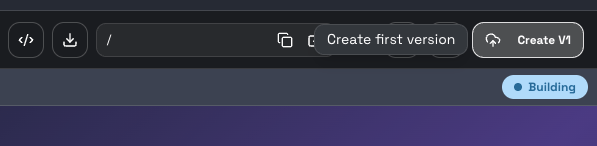
After you create your first version (V1), the Publish App button appears in the toolbar and options like Share and Code Locally become available.
Creating a Version (V1, V2…)
Click Create V1 in the toolbar to publish the current state of your app. The first publish creates V1; subsequent publishes increment the version.
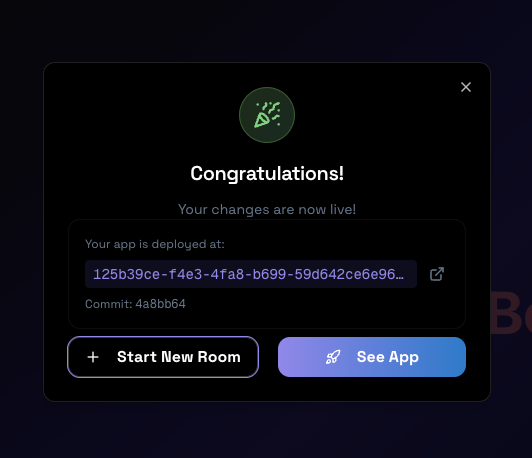
A confirmation dialog shows the deployment URL and commit hash.
Publish App to the Catalog
After creating a version, click Publish App (shown in the toolbar after V1 is created) to list your app in the Product Showcase.

You must have created at least one version (via Create V1) before the Publish App flow becomes available.
Fill in the publishing form:
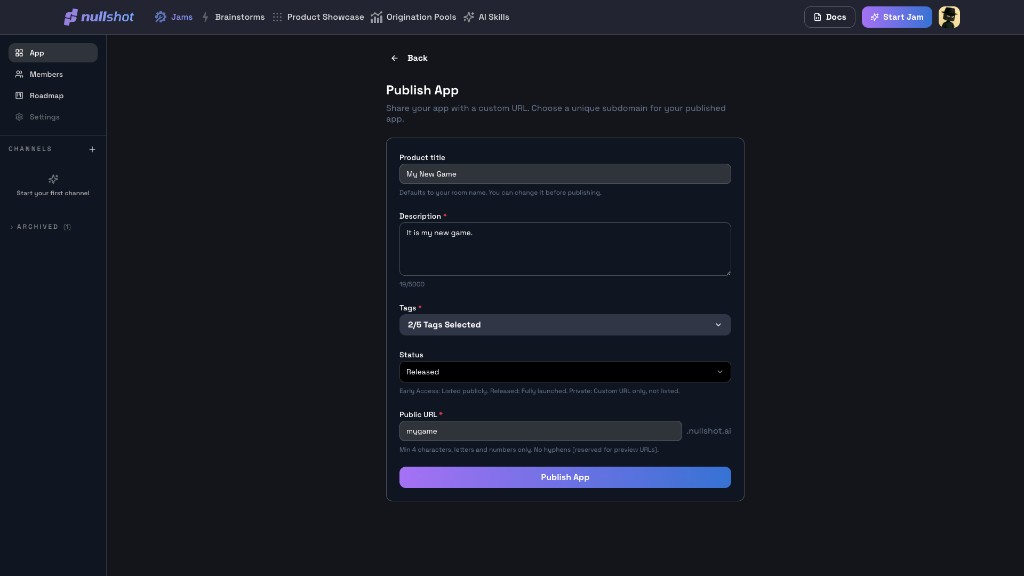
- Product title — Defaults to your room name. Change it before publishing.
- Description — Up to 5000 characters describing what your app does.
- Tags — Select up to 5 category tags.
- Status — Early Access (listed publicly), Released (fully launched), or Private (custom URL only, not listed).
- Public URL — A custom subdomain on nullshot.ai (e.g.
mygame.nullshot.ai). Min 4 characters, letters and numbers only.
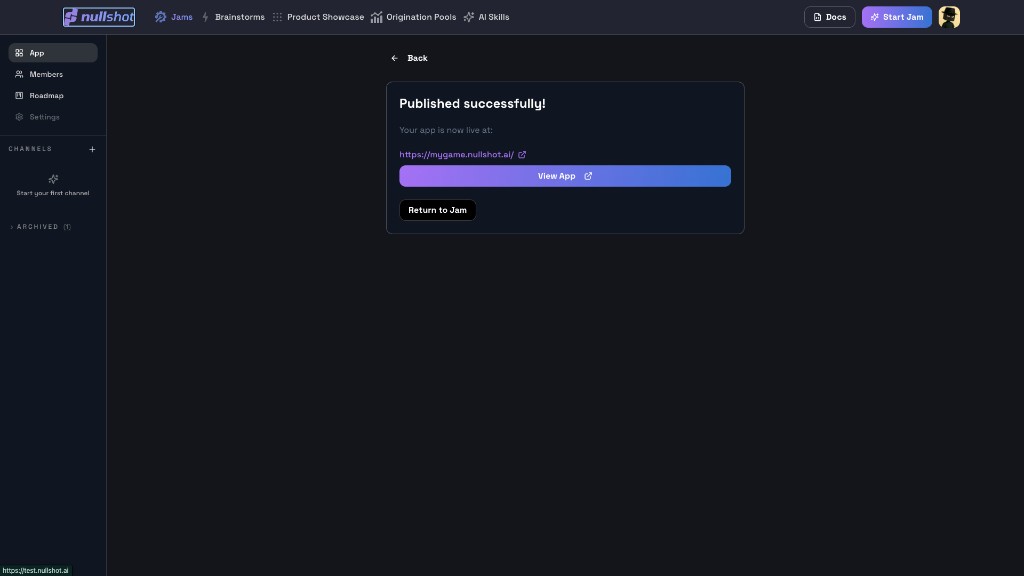
After clicking Publish App, your app gets a short public URL at [yourname].nullshot.ai and a confirmation screen with View App and Return to Jam actions.
Sharing and Collaboration
Sharing a Jam Room
Click the Share button in the toolbar to open the Share Jam Session dialog.
This gives you the direct room link and sharing options.
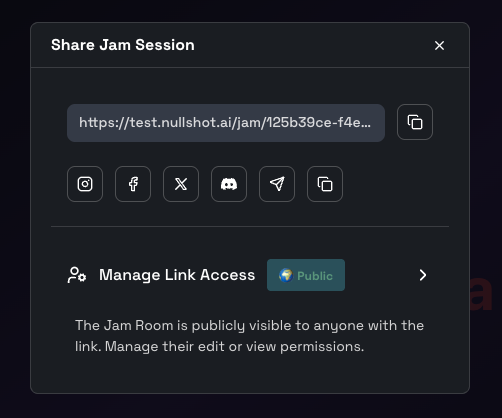
- Copy link — Copies
https://nullshot.ai/jam/[room-id]to clipboard - Social share — One-click share to Instagram, Facebook, X, Discord, Telegram
- Manage Link Access — Toggle room visibility between Public (visible to anyone with the link) and Private
Public rooms appear in the Jam Community directory and can be joined by any user. Manage edit and view permissions separately from the Members panel.
Remix and Fork
Public jams can be remixed. After publishing V1, other users can fork your app to start their own jam from your codebase. The Remix button appears in the toolbar of any public jam you are viewing.
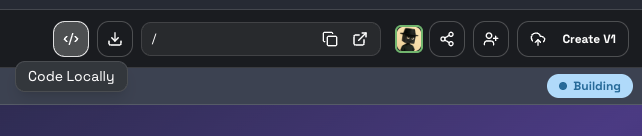
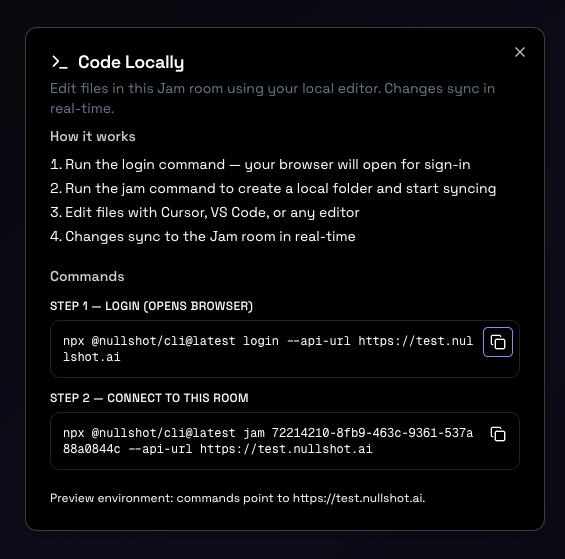
Code Locally
Use the Code Locally button (</> icon in toolbar) to sync a Jam Room to your local machine and edit with any editor (VS Code, Cursor, etc.). Changes sync to the room in real-time.
What's Next?
Ready to build? Create your first Jam Room and experience building apps through conversation.
Want a step-by-step walkthrough? Follow the quickstart guide.